How to Create Simple Login page in ASP.NET Core MVC with Database
 |
Vivek Jaiswal |
71320 |
{{e.like}} |
{{e.dislike}} |
Introduction
In this article, I will discuss How to create simple login page in ASP.NET Core MVC with database. This article provide the basic reference about to create login page and then authenticate details from database. I have already discussed that How to access connection string from appsettings.json in ASP.NET Core. Here I have used ADO.NET for database related operations.
Follow these instructions in order to implement “How to Create Simple Login Page in ASP.NET Core MVC”
Step1
We will be creating the web application in ASP.NET CORE MVC.
Open Visual Studio 2017 》New 》 ASP.NET Core Web Application 》 MVC
Step2
Now create your existing SQL server database and create following Table with existing user login data and also create Stored Procedure to verify the user login information.
CREATE TABLE [dbo].[tbl_login](
       [Admin_id] [nvarchar](100) NULL,
       [Ad_Password] [nvarchar](100) NULL
)

insert into tbl_login(Admin_id,Ad_Password) values('admin','admin123');

CREATE PROC Sp_Login
@Admin_id NVARCHAR(100),
@Password NVARCHAR(100),
@Isvalid BIT OUT
AS
BEGIN
SET @Isvalid = (SELECT COUNT(1) FROM tbl_login WHERE Admin_id = @Admin_id AND Ad_Password=@Password)
end
Step3:
Now adding model to the project, name as Ad_login.cs.
Right click the model folder and add class name as Ad_login, this will add file inside model folder.
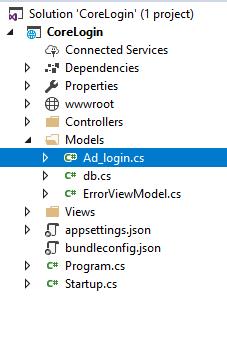
Add the following code snippet inside Ad_login.cs
public class Ad_login
    {
        public string Admin_id { get; set; }
        public string Ad_Password { get; set; }
    }
Step4
In this article I am using ADO.NET for database related information, so we need to create Database Access Layer class inside Model folder (db.cs) for performing database related operations.
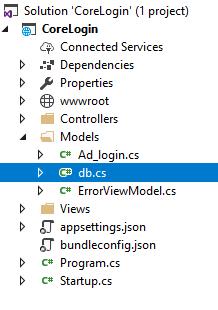
Now write the following code snipped for authenticate user from database table.
using System;
using System.Collections.Generic;
using System.Linq;
using System.Threading.Tasks;
using System.Data;
using System.Data.SqlClient;
using System.Configuration;
using CoreLogin.Models;
namespace CoreLogin.Models
{
    public class db
    {
        SqlConnection con = new SqlConnection("Data Source=ADMINRG-N8EO0RN\\SQLEXPRESS;Initial Catalog=testdb;Integrated Security=True");
        public int LoginCheck(Ad_login ad)
        {
            SqlCommand com = new SqlCommand("Sp_Login", con);
            com.CommandType = CommandType.StoredProcedure;
            com.Parameters.AddWithValue("@Admin_id", ad.Admin_id);
            com.Parameters.AddWithValue("@Password", ad.Ad_Password);
            SqlParameter oblogin = new SqlParameter();
            oblogin.ParameterName = "@Isvalid";
            oblogin.SqlDbType = SqlDbType.Bit;
            oblogin.Direction = ParameterDirection.Output;
            com.Parameters.Add(oblogin);
            con.Open();
            com.ExecuteNonQuery();
            int res = Convert.ToInt32(oblogin.Value);
            con.Close();
            return res;
        }
    }
}
In the above code snippet LoginCheck() method is use to authenticate the user's credential from database and return the number of count on the basis of user details.
Step5
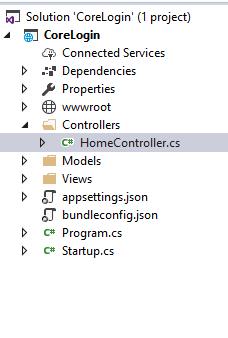
Adding controller to the application: Right click on Controller folder and add controller class as HomeController.cs. It will create new file inside Controller folder. Here we will create all business logic.
Step6:
Add Views to the Application:
To add View for controller class, we need to create folder inside Views folder with same name as Controller class (Here name as Home) and then add Views to that folder.
To add View file, Right click on Home inside Views folder and then select View name as Index.cshtml.
Now write the following code snippet inside to the Index.cshtml
@model CoreLogin.Models.Ad_login
@{
ViewData["Title"] = "Home Page";
}
<div class="container">
<div class="row">
<div class="col-sm-4"></div>
<div class="col-sm-4">
<form class="form-horizontal" asp-action="Index">
<div class="form-group">
<label class="control-label">Admin ID</label>
<input asp-for="Admin_id" class="form-control"type="text" />
</div>
<div class="form-group">
<label class="control-label">Password</label>
<input asp-for="Ad_Password" class="form-control" type="password" />
</div>
<div class="form-group">
<input type="submit" value="Submit" />
</div>
</form>
</div>
<div class="col-sm-4"></div>
</div>
</div>
@{
if (TempData["msg"]!=null)
{
<script>
alert('@TempData["msg"]')
</script>
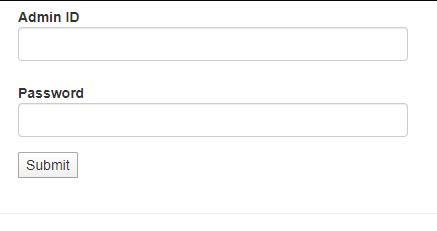
}
}In the above code I have created view for Login page where user can enter their credential for accessing the resource.
For handling business logic, Open HomeController.cs and write the following code snippet.
  public IActionResult Index()
        {
            return View();
        }
        [HttpPost]
        public IActionResult Index([Bind] Ad_login ad)
        {
            int res = dbop.LoginCheck(ad);
            if (res==1)
            {
                TempData["msg"] = "You are welcome to Admin Section";
            }
            else
            {
                TempData["msg"] = "Admin id or Password is wrong.!";
            }
            return View();
        }
In the above code snippet you can see that we have created two action methods for Index, One method for HttpGet and another for HttpPost. The HttpGet action method will display the form for user’s input and HttpPost handle the post request when user click on Submit button after entering their credential.
Now run the application and see the following output.
If you like this article, share with you friends.
Comments
|
|
|
| Follow up comments |
| {{e.Name}} {{e.Comments}} |
{{e.days}} | |
|
|
||
|
|
||
| {{r.Name}} {{r.Comments}} |
{{r.days}} | |
|
|
||